While waiting for a Covid-19 vaccine, if you’ve already watched everything on Netflix, Hulu, Prime Video, etc., you might want to check out “How It’s Made” on the Discovery Channel. In this blog I’ll do a similar treatment of what I do to fabricate the enclosure for my new product, Power*Star. The product isn’t quite ready to ship yet, so I’ll leave the product description for a later blog. I and a colleague have been working pretty much non-stop on this since February, and the vast majority of that work would not be terribly interesting, and perhaps difficult to follow, but fabricating the enclosure is fun. It reminds me of how IBM discovered many years ago that people were seldom impressed to watch a computer go through a complex calculation and spit out an answer, but loved watching tape drives spin back in forth in hypnotic, pseudo random movements.
The heart of the project is a printed circuit board (PCB) that needs to be protected from the elements and have a means of attaching it to a telescope (or other locations). I don’t have the tools to make such an enclosure from scratch, so I designed the PCB to fit an off-the-shelf enclosure. The main body is extruded aluminum, and it comes with aluminum panels for the front and back. The board slides into slots along the short sides of the box (the slots are part of the extrusion), and then is clamped between the front and rear panels. So the first step is to cut the holes in the panels, which I do with a CNC router:
This process leaves holes that are cleanly cut and accurately placed for the various connectors on the circuit board to poke through. It just needs to be cleaned up a bit before going to the next step.
Earlier this year I posted a picture of some new equipment I got, including this laser cutting/engraving machine:
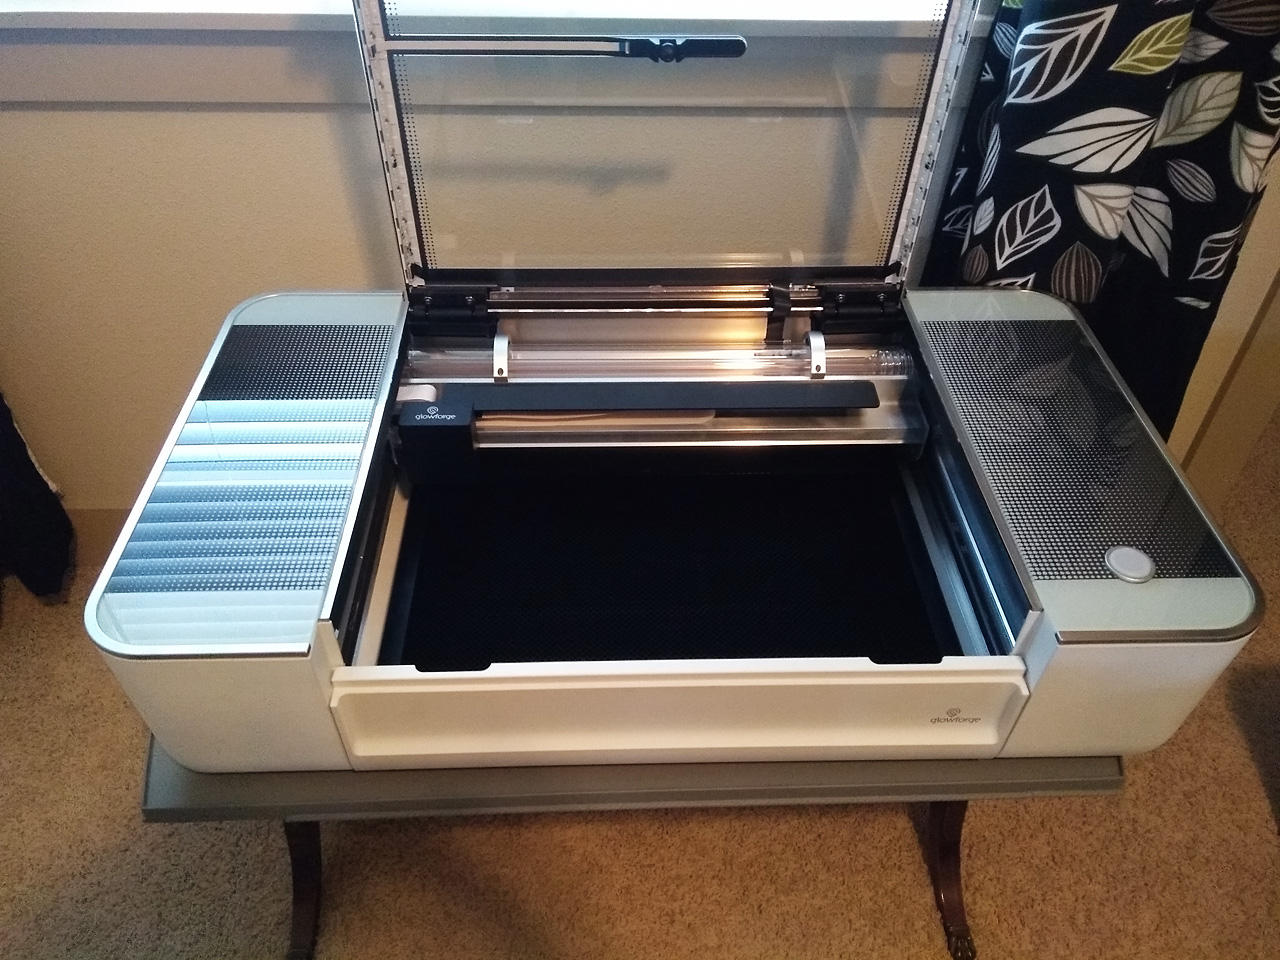
I bought it to engrave anodized aluminum, but this enclosure is not anodized, it is powder coated. The laser can work on powder coating also, but I’ve found it more difficult to get just the right settings. It is basically paint, so the laser can burn it off, but if you use too much power it will actually ignite and burn in a less controlled manner. But with too little power it leaves paint residue in the etched areas. In the video below the engraving doesn’t look very good because there is still a lot of residue, but most of it cleans off later:
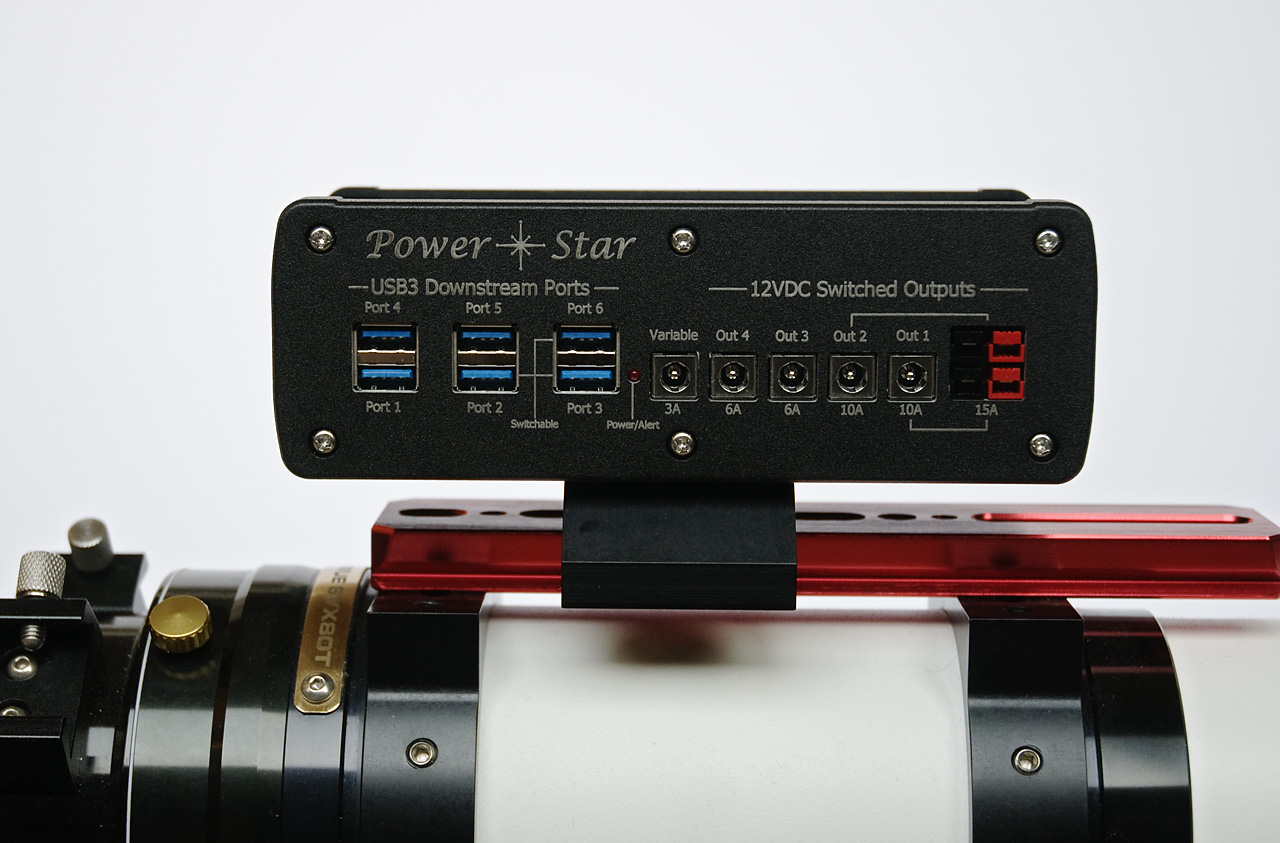
Once it is (again) cleaned up the unit can be assembled by sliding the PCB into the right slots, and attaching the end panels with machine screws. Finally, to allow the device to be easily attached to a telescope, a small “dovetail” saddle is attached to the bottom:

This is a universal saddle that works with both of the commonly used dovetail bars, the Vixen type and Losmandy D type. In the first photo above the red part is a Vixen dovetail. The knob is used to tighten the saddle to the bar, so it is very easy to install, remove, or change the position.
The next major step is the development of a test fixture for the circuit boards. For the first batch of boards I tested each one by hand, and after lots of practice I got it down to about 7 minutes per unit. But with an automated test fixture it should take less than 1 minute. And most of that time is just in making all the connections. There are 23 (!) separate connections to be made in order to test every port and function of the board. The heart of the test fixture will be a single-board computer (SBC) that runs a test program:
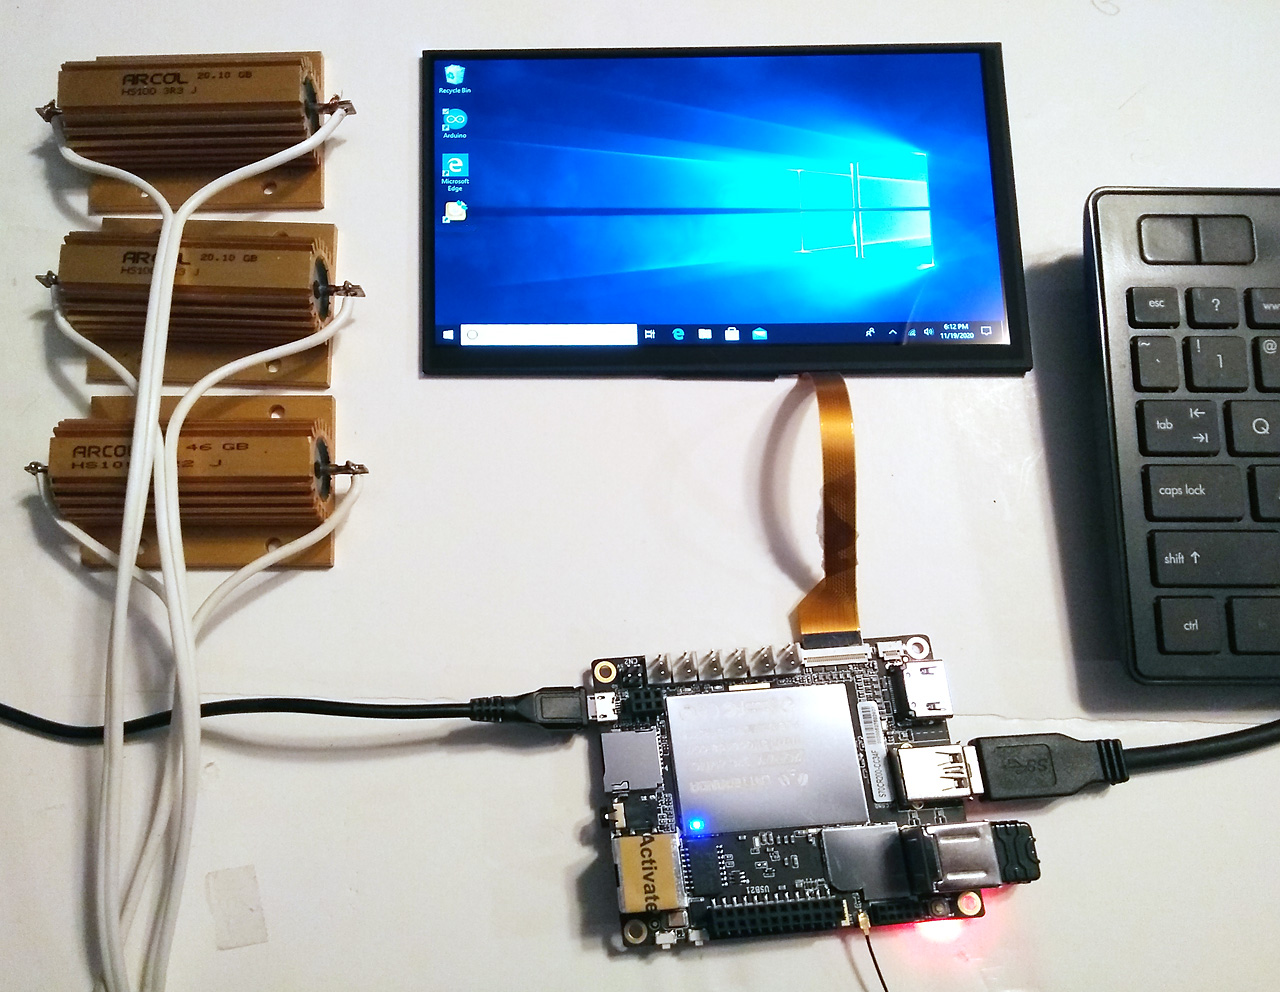
The small circuit board in this photo is a full Windows10 computer with 2GB of memory, 32GB of SSD, USB, ethernet, and Wi-Fi connectivity, and an LCD driver. It will go inside a metal box, with the display attached on the top rear, and a jig to hold the circuit board at top center. The gold color devices with wires attached (left side of picture) are power resistors. A bunch of these will be inside the test fixture to act as dummy loads, since one of the main features of Power*Star is the ability to switch external devices on and off under software control.
Unless something unexpected happens, my next post will introduce you to Power*Star, detailing its features and specifications. And pricing, of course!