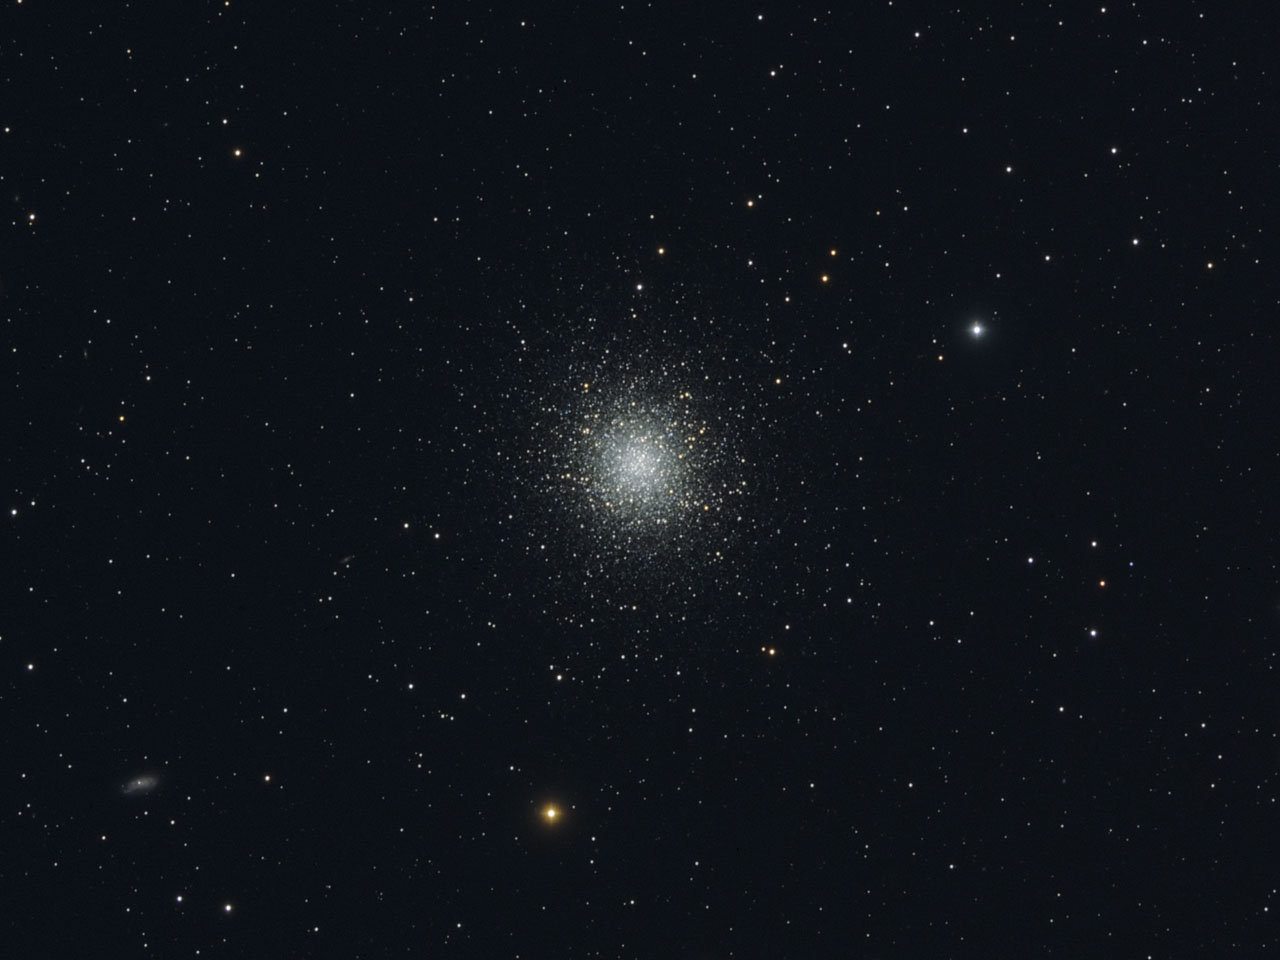
I’ve tried many times to get a good photo of M13, the Hercules Cluster, and this is the best one yet, although it’s done with a telescope that is a bit low in magnification for this object. M13 is a “globular cluster”, a group of stars that are gravitationally bound to each other. In this case, there are about 300,000 stars in the cluster, so the goal in photographing it is to be able to distinguish one star from another as much as possible (obviously, we can’t come close to seeing all 300,000), which means getting excellent sharpness.
Theoretically, a telescope with a larger aperture (diameter) will produce higher resolution. In practice, the sharpness is almost always limited by other factors, such as focus, accuracy of tracking, and of course, seeing (the degree of atmospheric turbulence). As regular readers of this blog know very well, I am constantly struggling with seeing, and this image was no exception. Despite some very good forecasts for seeing, conditions were really just average while capturing the sub-exposures that make up this image. It helps that M13 was fairly high in the sky, since that means you are looking through the least amount of air.
This was captured from my home, at Wa-chur-ed Observatory. M13 is bright enough that light pollution is not a big problem. That is, for any target not to the south, the direction of Portland. The sub-exposures were just 2 miuntes and I captured 32 frames of luminance and 16 each of red, green, and blue. The final image is made up of about half of this, for a total of 1 hr and 20 minutes exposure. When photographing dim nebulae the exposure time that goes into the final image is important because it allows you to reveal dimmer details and reduce noise. But for bright objects (including solar and planetary imaging, although they are generally done with different techniques) the idea is to capture many separate sub-exposures so that you have lots to choose from and can use only the best/sharpest images.
In this case, I stacked the luminance frames twice; once using the best half of all frames, and then using just the best 4 frames. The difference between these 2 versions is not huge, but it is significant. I then combined these two, taking the stars from the “best 4” version and the background from the other. This provides the sharpest possible stars, while still maintaining low noise in the black background.
This image is also the first I have done (as an experiment, really) using a special filter in place of the usual luminance filter. This special filter passes most of the visible spectrum, but cuts off the red and blue extremes more aggressively than a normal luminance filter. The purpose is to eliminate the parts of the spectrum that are most susceptible to chromatic aberration, which would blur the image. In the past I have noticed that my luminance frames were never as sharp as the RGB frames, which suggests that there is some chromatic aberration over the range of colors passed by the luminance filter. The results were good – the luminance frames here matched the sharpness of the RGB frames quite well. Of course, you can also achieve much the same result by not using a luminance filter at all – just combining the RGB frames to make the final image. But the LRGB process provides some flexibility that you don’t get with straight RGB, so I’m glad that this experiment seems to have been successful.
I’ve learned that the stretching process for a globular cluster needs to be different than what I normally use for nebula images. With a nebula the interesting details are all in the dim regions – just slightly brighter than the black background. So we use most of the brightness range to provide good contrast within the nebulosity, then compress all of the stars into a fairly narrow range of brightness, since we don’t care much about the differences in brightness in the stars. But in a globular cluster the stars are the subject of the photo, and distinguishing stars by brightness is important. This is achieved by using a less aggressive/more linear “stretch” transformation.
I also used a bit of wavelet processing on the luminance portion to increase the apparent sharpness. There is also some “unsharp masking” (USM) in the final stages of processing, but the wavelet step is done early in the process – before stretching. I’ve also tried deconvolution with various parameters, but have never gotten particularly good results with that process.
Most stars are not very colorful and differences in color can help to separate the stars in a cluster, so increasing the color saturation is an important step. It is quite normal to increase saturation in all kinds of astro-photos, but a globular cluster probably needs more increase than you would typically use for a nebula.